This post may contain affiliate links, meaning if you decide to make a purchase via my links, I may earn a commission at no additional cost to you. See my disclosures for more info.
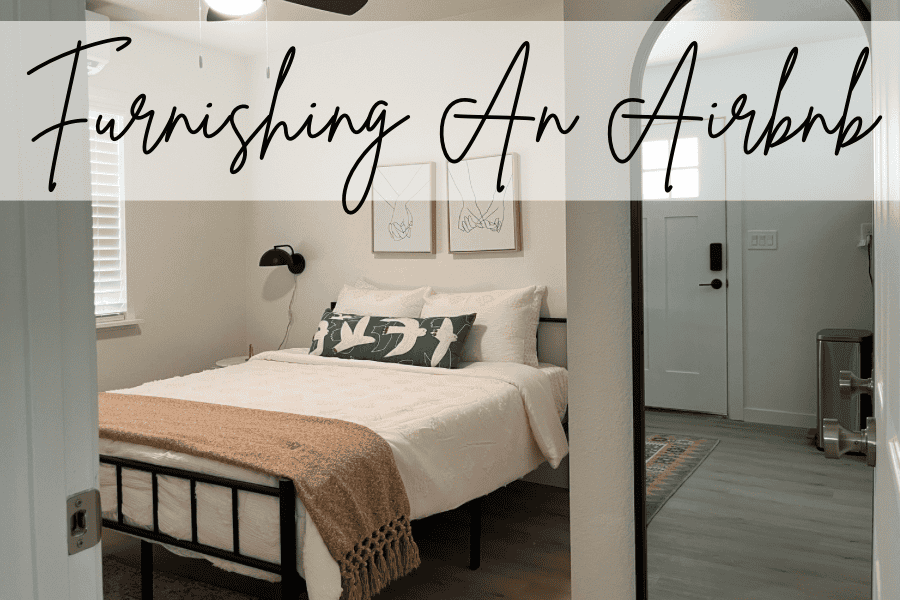
Furnishing an Airbnb is no joke! As of last week, I just finished furnishing my 7th one and I am here to tell you it does get easier. But holy cow, the sticker shock of how much I can spend in one Target run still doesn’t cease to amaze me.
If you’re looking for helpful tips on furnishing an Airbnb efficiently and effectively, I can definitely help you out! In this article I’ll show you all my tips and tricks to getting a property furnished on budget and on time.
This post is all about furnishing an Airbnb.
Best Tips For Furnishing An Airbnb
1. Stick to a budget
There’s a tried and true rule in the Airbnb furnishing space where you need to be spending $10-$15 per square foot on furnishing the listing. You don’t want to spend more due to over investing and you don’t want to spend less otherwise the listing will look crappy. That budget per square foot allows you to quickly calculate your investment when analyzing a property and spend the money where it makes sense.
The budget gives you freedom to design a great space and not compromise because you don’t want to spend the money on a statement piece of furniture.
2. Have a theme
The trend right now is to have a theme for your property. This will really help if you’re in a saturated market and know who you are targeting as your guest. Having a theme doesn’t mean you need go all out with a cheesy animated kids room idea it just means you need to know the aesthetic of the you’re sticking to so you design around that idea.
Want to dive deeper into Airbnb theme ideas? Check out this article!
3. Put together a checklist
Once you have the theme/aesthetic nailed down and a budget set up, time to build that furniture checklist. I have one that I have used for each of my 7 properties that I manage and I have it available for all my readers. Just input your email below and I’ll send you the template!
The most important thing to remember when setting up any property is to stay as organized as possible. You need to build the budget and have a great way to track the cost against that budget and that’s exactly what this template does. I order most of my items on Amazon so they can be shipped directly to the listing I will be setting up. This also allows for really easy budget tracking. I know when I’m at the store, it can be hard to stick to a budget and I tend to overspend when I look at all the “nice to have” items versus the must have items.
4. Get a timeline
This is a crucial pice. Furnishing is SO expensive and typically $5-10k easily. You don’t want to slowly go about acquiring all the furnishings to only sit on these expenses with no revenue coming in. Set a deadline for yourself and get after it. This will also help you make fast decisions and work hard to get things set up. The best way to do this is to schedule your photos for a certain day and work like mad to hit the deadline.
5. Hire some help
You definitely want to hire some help for set up. Furniture assembly can take HOURS of your set up time and is totally worth it to have a couple people working against that for set up than just you and your business partner. On my most recently listing that just went live on July 5th, my husband and I were doing the set up ourselves and I bought a dresser that came in quite literally a million pieces. I spent 2 hours putting together just the drawers. My dad spent another 1.5 hours the next day finishing it. Holy cow what a time suck!
Had I spent a little extra for a fully assembled dresser, I would have had that unit fully installed in half a day. Granted it was a 1 bedroom 360 square foot space, so tiny, but still. Do not underestimate the amount of time it takes to run out to get something “really quickly”. All of those unexpected trips out will eat into so much set up time so hire help!
6. Get after it
Put in the hours and the effort to get the listing dialed in. Set it up, hang the photos, test the amenities, get the last minute projects done. It’s go time! Little things like touch up paint from banging furniture around or pest control or furniture cleaning will all eat into your set up time so make sure you hustle and get it done.
Dive into my ultimate guide for putting your house on Airbnb here!
7. Deep clean that baby
Now that you have everything set up (YAY) it’s time to get ready for photos. But first, you need to deep clean that sucker. So much dust and debris will accumulate from the cardboard, foam and people walking in and out. Give your cleaning team a trial run now before they start cleaning for your guests.
8. Stage for photos
This part is just so much fun. I love staging the photos and so encourage you to do the same. You want your guests to easily be able to picture themselves in the listing having fun with all the amenities you provide so make sure you show them off!
These are a few of the photos I ensure we take to show off our listings:
- Set the table for a meal
- Coffee bar set up
- Any pull out bed should be set up and made showing guests how to use
- Action shot of a grill fired up and cooking a meal
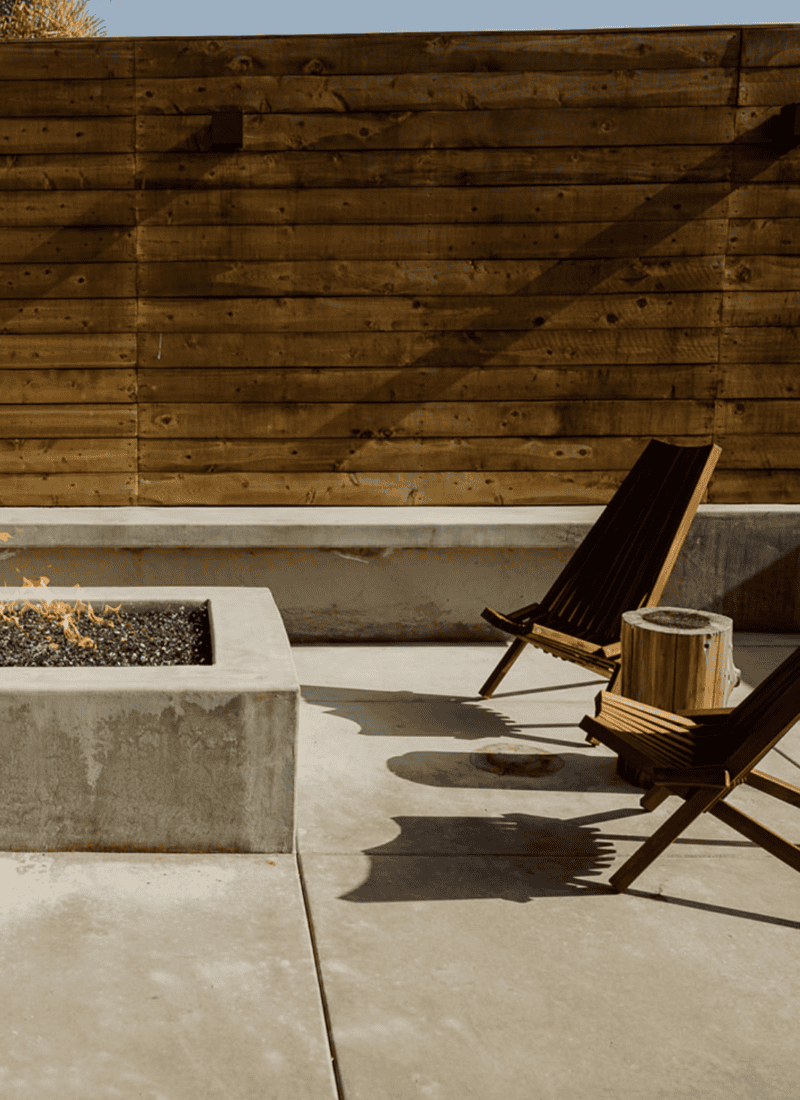
- Fire pit area with a big roaring fire
- Hot tub with jets turned on
- Pool with floaties and toys in the pool
- Lawn with games set up
- And so much more!
What do you have on your Airbnb furniture list? I’d love to know in the comments below.
This post was all about furnishing an Airbnb.
This post may contain affiliate links, meaning if you decide to make a purchase via my links, I may earn a commission at no additional cost to you. See my disclosures for more info.

